

This page will cover the deployment of HPCC Systems on the Google Cloud Platform.
Before we are able to start, there are some packages and dependencies that need to be installed. For some of these packages you can use homebrew for Mac and Ubuntu. For Windows, you can use chocolatey to make the installation process easier.
How do I setup the Visual Studio Code Workplace?
How do I build the Docker image?
Run these commands separately:
cd dockerfiles

.\buildall.sh
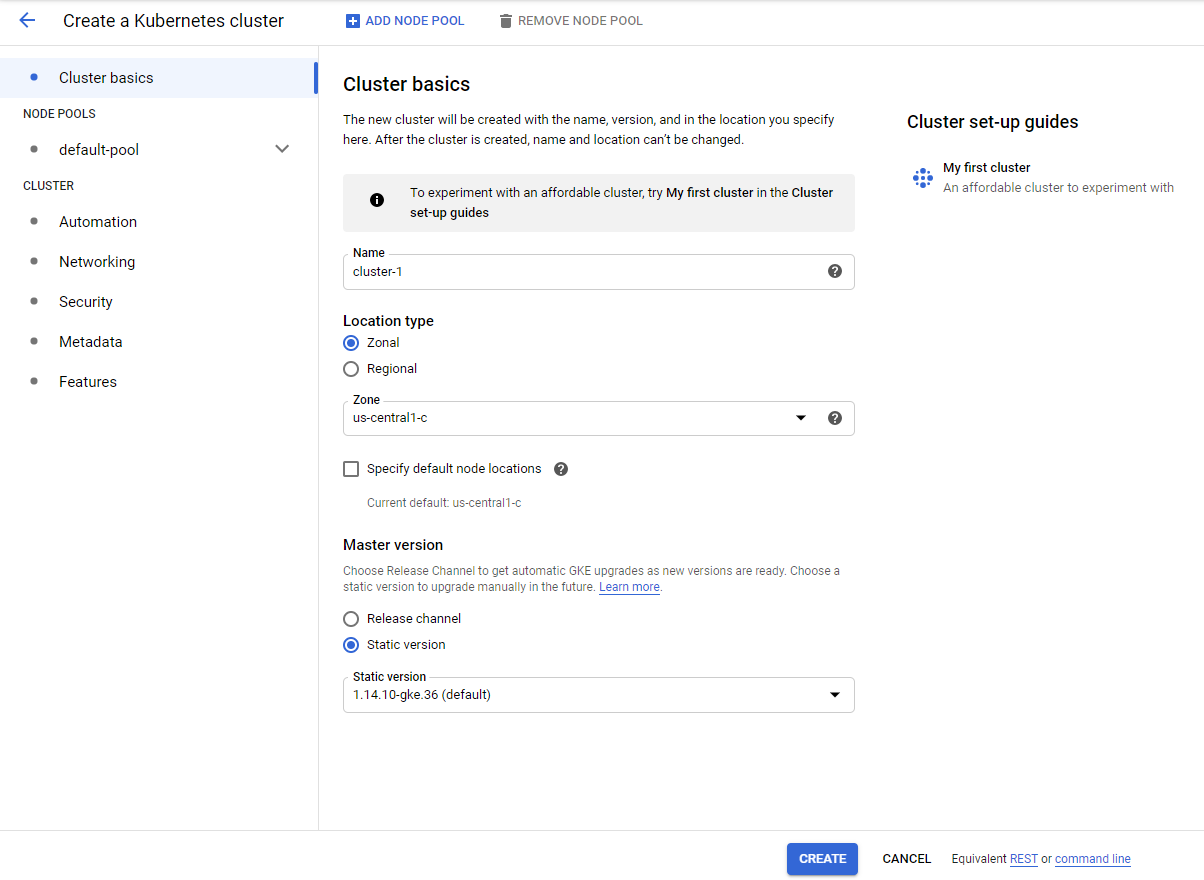
Your Workstation and Project is now all set! You are now ready to create your Google Cloud Project!

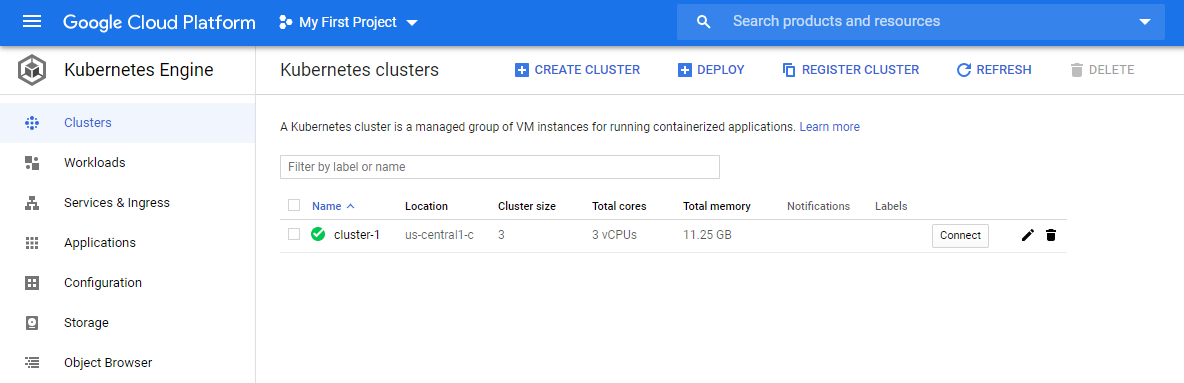
gcloud container clusters get-credentials cluster-1 --zone us-central1-c --project [project-id]
Success! You are now ready to deploy HPCC-Platform on to your Google Kubernetes Cluster!
There are two ways to deploy HPCC onto the Google Kubernetes Cluster. The easiest way by far is by using the shell scripts I have provided.
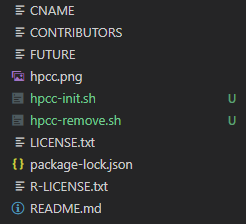
Place the two files into the root of your HPCC-Platform project like so:
Run the hpcc-init.sh shell script with the command:
.\hpcc-init.sh
Success! You have deployed HPCC onto the Google Kubernetes Engine!
Enter these commands SEPARATELY into the VSC terminal:
cd helm/examples/nfs

helm install nfsstorage hpcc-nfs/

cd ../../

helm install myhpcc hpcc/ --set global.image.version=latest -f examples/nfs/values-nfs.yaml
Success! You have deployed HPCC onto the Google Kubernetes Engine!
Like the deployment process, there are two ways to remove your HPCC-Platform Project.
Run the hpcc-remove.sh shell script with the command:
.\hpcc-remove.sh
Enter these commands SEPARATELY into the VSC terminal:
helm uninstall myhpcc

helm uninstall nfsstorage
Run the command(s) below separately:
kubectl get pods

kubectl get pvc

kubectl get pv
You will see nothing being returned if deletion is successful. It may take a while for everything to be deleted, so step away for a few minutes and make yourself a cup of coffee :).
As with many other blogs, we will be going through a test run of the HPCC-Platform you have installed on your Google Kubernetes Cluster! However, there are a few items that must be addressed beforehand.
Run the command featured below in your HPCC-Platform project terminal.
kubectl cp ./originalperson <eclccserver pod name>:/var/lib/HPCCSystems/hpcc-data/
This command copies over data from your local machine to the Kubernetes Cluster on the file path /var/lib/HPCCSystems/hpcc-data/.
Next, switch over to your datatutorialworkspace project. We will now set up the ECL environment for testing.
Click on the Run button in Visual Studio Code. Or use the keyboard shortcut “Ctrl+Shift+D”. It should look like this:
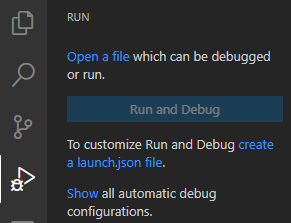
Select “create a launch.json file” and fill the configuration array with the JSON provided below.
{
    "name": "play-hthor-submit",
    "type": "ecl",
    "request": "launch",
    //Change mode
    "mode": "submit",
    "workspace": "${workspaceRoot}",
    "program": "${file}",
    "protocol": "http",
    "serverAddress": "Your ecl server ip address",
    "port": "your ecl server port",
    "rejectUnauthorized": false,
    //change target cluster
    "targetCluster": "thor",
    "eclccPath": "${config:ecl.eclccPath}",
    "eclccArgs": [],
    "includeFolders": "${config:ecl.includeFolders}",
    "legacyMode": "${config:ecl.legacyMode}",
    "resultLimit": 100,
    "timeoutSecs": 60,
    "user": "",
    "password": ""
}
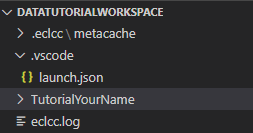
After the configuration array has been filled, create a folder in root of the project called “TutorialYourName”. We will be uploading ecl scripts here. Your file structure should look like this:
For this blog we will only be completing one example as all the examples utilize the same process. Thankfully, the HPCC Systems Development team has made the ability to write and execute ECL code straightforward and simple.
In the documentation, it states that we should create a file called “layout_people.ecl”, and to populate it with some ecl code.
Despite what the tutorial says, you MUST have lowercase file names!!!!
Please populate the file with the following ecl code:
EXPORT Layout_People := RECORD
 STRING15 FirstName;
 STRING25 LastName;
 STRING15 MiddleName;
 STRING5 Zip;
 STRING42 Street;
 STRING20 City;
 STRING2 State;
END;
After doing so, click on the Run button in Visual Studio Code. Or use the keyboard shortcut “Ctrl+Shift+D”. You should see the configuration “play-hthor-submit” at the very top. Click on the green play button to execute your ecl code.
Success! Your ecl code should now be executed! Go to your EclWatch IP Address to look at the process running. You can also see results from EclWatch.
Now repeat the procedure you used for the first example and apply them to the other examples in the documentation.
Some features in the tutorial do not work in the current Google Kubernetes Engine. Here is a list of what does not work.
The Google Cloud Platform leverages many services and technologies which ensures it as a leading cloud competitor in today’s environment. Future work with GCP will utilize it’s hosting services as well as its containerization management services.
| “GKE Overview | Kubernetes Engine Documentation | Google Cloud.” Google, Google, cloud.google.com/kubernetes-engine/docs/concepts/kubernetes-engine-overview. |
Please feel free to reach out to me for any questions at jeff@philobots.io