

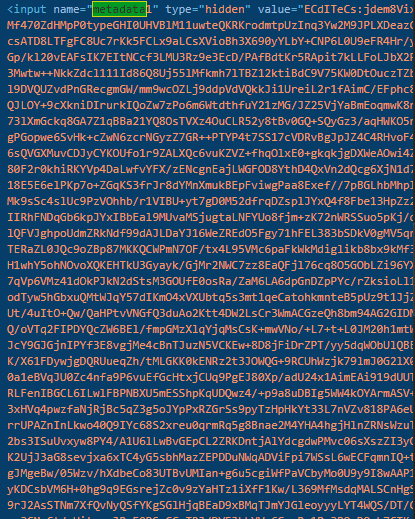
Today we will be covering Amazon Metadata1, a list of information gathered on the frontend which forms a large object, then serialized into a string and encrypted client side.
The Amazon Metadata1 script is located here under the subfolder FWCIMAssets. In the beginning, this file looks quite ugly and unreadable but we will begin our task of reversing the metadata1 algorithm here.
First off, we need to make the code readable, then we can begin looking at what each function does and what fills in the metadata1 parameter during Amazon authentication pages. This step is arguably the simplest.
Step 2 and 3 are the most difficult tasks. With a 6000 line file, manually copying and pasting array information won’t cut it. That’s why we will design our own deobfuscator!
var originalString = ""; // Enter code that you want converted
var arrayVarName = ''; // Enter the array variable name
var deobArray = []; // Enter the array values provided


deobfuscate(originalString, arrayVarName, deobArray);
async function deobfuscate(originalString, arrayVarName, deobArray) {
    var newString = originalString;
    var replace;

    for(var x = 0; x < deobArray.length; x++){
        replace = `${arrayVarName}[${x}]`.toString();
        newString = await newString.split(`[${replace}]`).join(`.${deobArray[x]}`);
    }

    for(var x = 0; x < deobArray.length; x++){
        replace = `${arrayVarName}[${x}]`.toString();
        newString = await newString.split(`${replace}`).join(`${deobArray[x]}`);
    }

    console.log(newString);
}
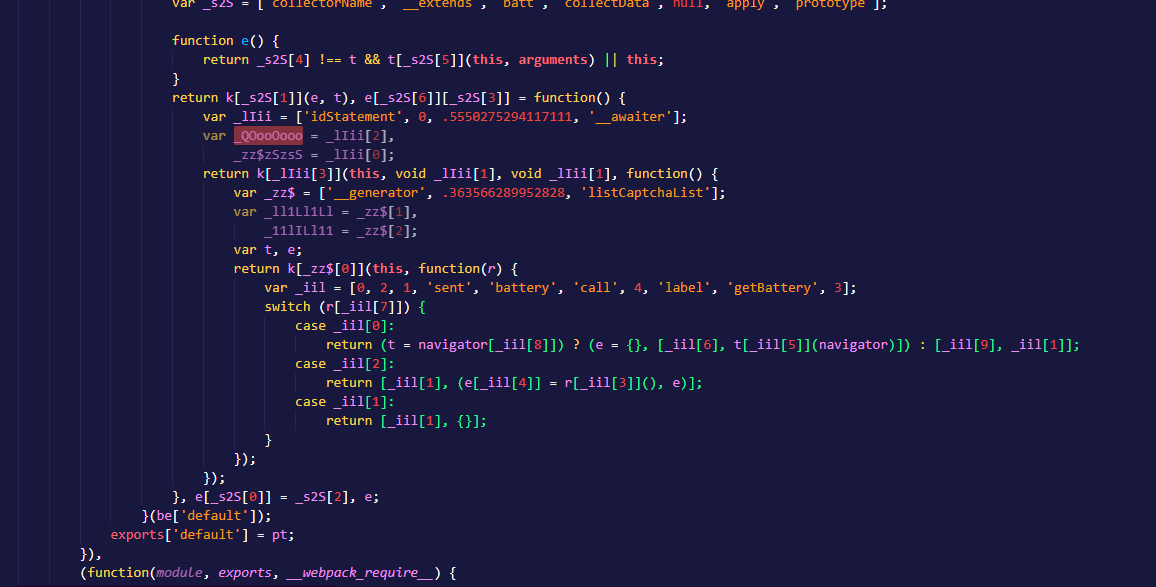
This is the base for the deobfuscator. Make sure to separate the codebase from the array value when you input it or it will not work. Here we will show before/after code to demonstrate the effectiveness of the deobfuscator.
var _$sZ = ['key', 'time', 2];
return [_$sZ[2], (t = {}, t[this[_$sZ[0]]] = this[_$sZ[1]], t)];
return [2, (t = {}, t[this.key] = this.time, t)];
Obviously this code is extremely simple by itself, however when dealing with more complicated code in the 6,000 file, this comes very handy.
Next, we will attempt to automatically detect array indices and elements to remove the need for manual input. This can easily be done through Regular Expression (or Regex for short).
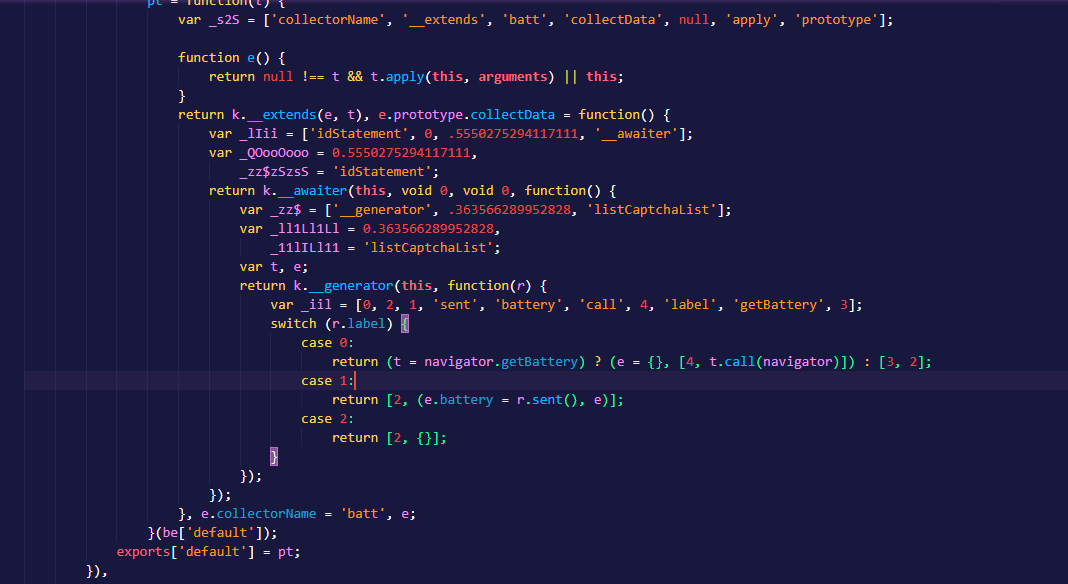
Finally! So much easier to read.
Despite deobfuscation, Amazon’s code is still very messy. This is understandable as they want to protect their code while ensuring it is as fast and efficient as possible. However, this is not very fun for us.
Browsing through the code, I noticed hundreds of references to __webpack_require__. For those unfamiliar with node and webpack, webpack require is the complicated way of writing var whatever = require('whatever-package-or-file'). These webpack require references were all referencing dependencies and functions, which were all packaged together in the Metadata1 script. The webpack require references were also indiced, i.e. __webpack_require__(0) which referred to the first function in the script, responsible for several non-data collection related actions.
Based on the indices, I immediately suspected that all the functions in the script were stored in the array - but lets check that.

Yup, as verified by the image, all the functions are stored within an array.
Since we have discovered that the webpack functions are stored on an array, we can begin marking them and commenting what they do. This is the part that requires the most diligence and will result in a complete Metadata1 generator.
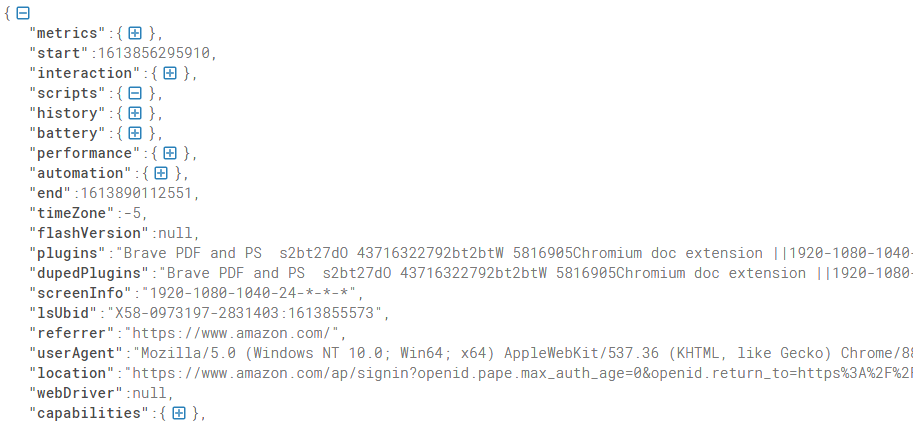
After a few days, I was able to recreate the entire encryption method along with data from Metadata1 collectors.
Since metadata1 is encrypted, I wondered if there was a way to read the browser’s version of Metadata1 in order to generate the most accurate values for Amazon servers. After several days of research and effort, I was able to successfully reverse engineer their encryption.
Now, writing a complete Metadata1 generator is an extremely trivial task.